jqxGrid CRUD using JSP
In this help topic you will learn how to use jqxGrid in a CRUD (Create, Read, Update, Delete) application scenario and send INSERT, UPDATE and DELETE commands to the server to update a MySQL database through JSP.
Important: before proceeding, please make sure you have followed the instructions of the tutorial Configure MySQL, Eclipse and Tomcat for Use with jQWidgets.
1. Connect to the Database and Retrieve the Grid Data
To populate the grid, we need a JSP file that connects to the Northwind database and retieves data from it (Read functionality).
Create a new JSP by right-clicking the project's WebContent folder,
then choosing New → JSP File. Name the file select-data.jsp.

Import the necessary classes in the beginning of the JSP:
Finally, add a scriptlet to the JSP that does the following:
- Makes a database connection.
- Selects the necessary data from the database in a ResultSet.
- Converts the ResultSet to a JSON array.
- Prints (returns) the JSON array.
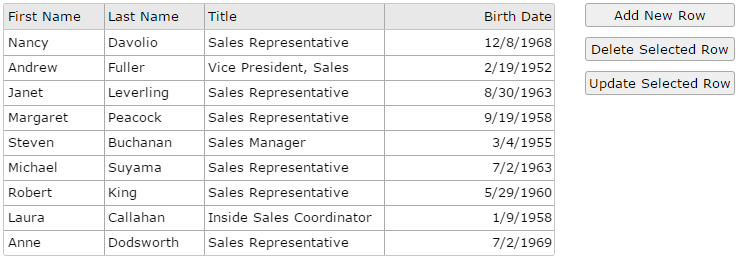
2. Create a Page with a jqxGrid
Create a new HTML page by right-clicking the project's WebContent folder,
then choosing New → HTML File. Here is the code
of the page in our example:
Through jqxDataAdapter, the grid is populated by the data retrieved from the database
by select-data.jsp.
When a new row is added, the source callback addrow is called,
in which an Ajax call sends the new row's data to the file addrow.jsp
(see Step 3).
When a row is deleted, the source callback deleterow is called,
in which an Ajax call sends the deleted row's id to the file deleterow.jsp
(see Step 4).
When a row is updated, the source callback updaterow is called,
in which an Ajax call sends the updated row's data to the file updaterow.jsp
(see Step 5).
3. addrow.jsp
Create a JSP file called addrow.jsp with the following content:
This JSP makes an INSERT query with the new row's data (Create functionality).
4. deleterow.jsp
Create a JSP file called deleterow.jsp with the following content:
This JSP makes a DELETE query by the deleted row's id (Delete functionality).
3. updaterow.jsp
Create a JSP file called updaterow.jsp with the following content:
This JSP makes an UPDATE query with the updated row's data (Update functionality).
To run the page, right-click it and select Run As → Run on Server. In the window that appears, select Tomcat v8.0 Server at localhost and click Finish.