How to Use jQWidgets in WordPress
WordPress is a free open-source content management system (CMS), which can be used to easily create blogs and websites. In this tutorial you will learn how to use jQWidgets in your WordPress website. Before proceeding, make sure you have WordPress installed.
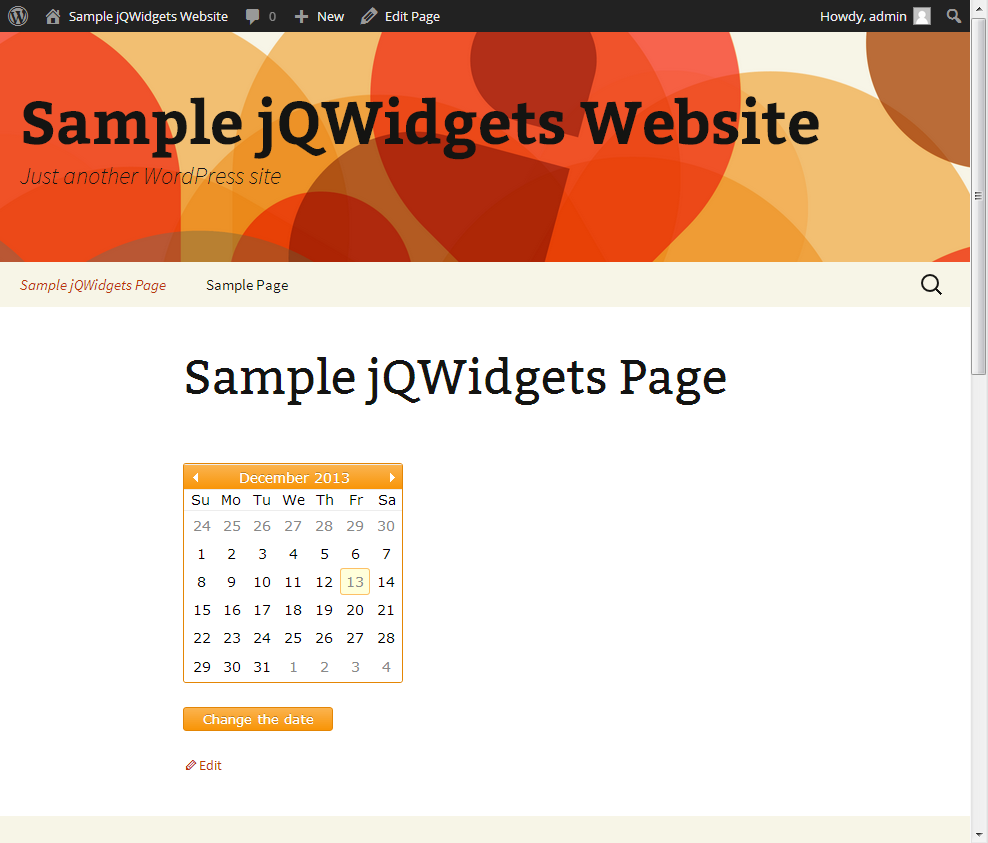
The tutorial will showcase a simple page with jqxCalendar and jqxButton in it.
1. Include All Necessary Files
The first step to adding jQWidgets support in your WordPress website is to include all the necessary files to the website.
In this tutorial, we have applied the WordPress theme Twenty Thirteen to our sample website. All the needed jQWidgets files should be stored in the theme's folder, i.e.:
mywordpress\wp-content\themes\twentythirteen
where mywordpress is the name of your website. Put the JavaScript files
in twentythirteen\js and the CSS files in twentythirteen\css.
Here is a list of the files needed for our simple jQWidgets page:
JavaScript:
jqxcore.js;jqxdatetimeinput.js;jqxcalendar.js;jqxtooltip.js;jqxbuttons.js;globalize.js;
initializewidgets.js- custom script for initializing the widgets on our page (we will refer to this file again in Step 3 of this tutorial). Here is the file's source code:
function initializeWidgets() { jQuery("#widgetsContainer").html('<div id="jqxCalendar"></div><br /><div id="jqxButton">Change the date</div>'); jQuery("#jqxCalendar").jqxCalendar({ theme: "orange", width: 220, height: 220 }); jQuery("#jqxButton").jqxButton({ theme: "orange", width: 150 }); jQuery("#jqxButton").click(function () { jQuery('#jqxCalendar ').jqxCalendar('setDate', new Date(2013, 11, 31)); });}
CSS:
jqx.base.css;jqx.orange.css;imagesfolder, with images needed for the themes.
You can, of course, apply a different theme to your website. If you choose to do
so, place the jQWidgets files in that theme's js and css
folders.
2. Modify Your WordPress Theme's Functionality
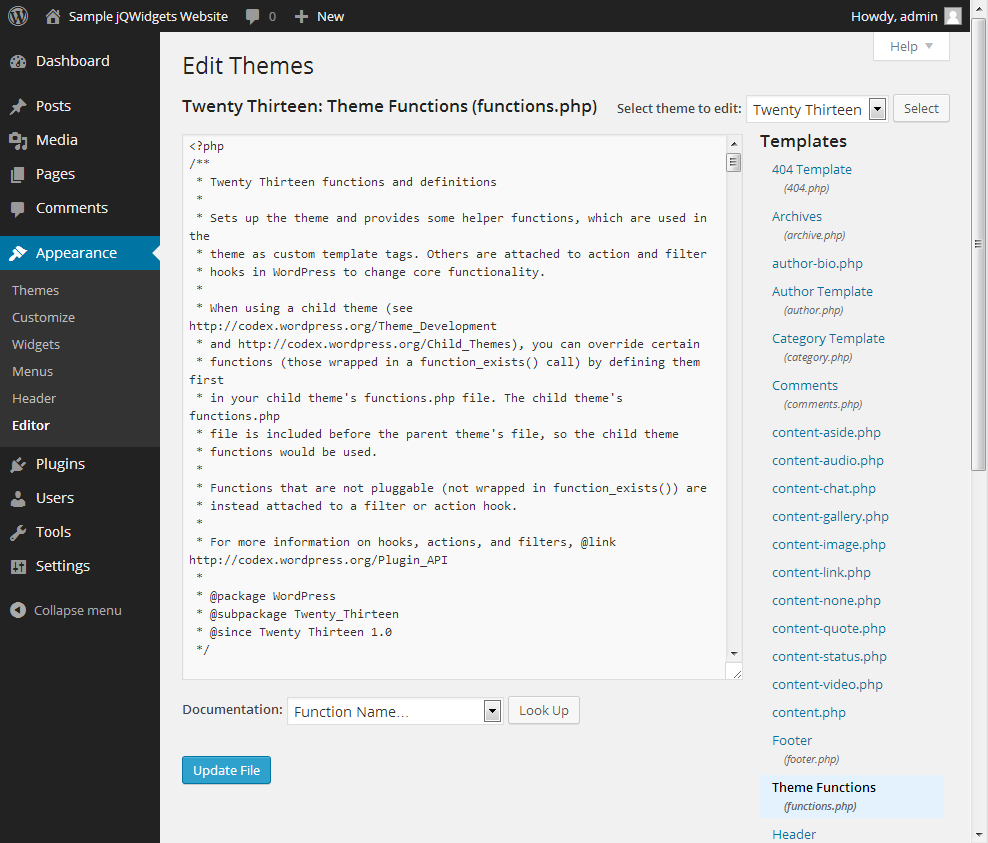
The next step is to modify the functionality of the theme (Twenty Thirteen). Open your website's admin panel. Select Appearance and then Editor from the menu on the left:

From the Templates list on the right select Theme Functions,
which will open the file functions.php in the editor:
Add the following code to the end of functions.php:
// adds jQWidgets scriptsfunction add_jqwidgets() {// registers jQWidgets JavaScript fileswp_register_script( 'jqxcore', get_template_directory_uri() . '/js/jqxcore.js', array( 'jquery' ), '3.0.4', false );wp_register_script( 'jqxdatetimeinput', get_template_directory_uri() . '/js/jqxdatetimeinput.js', array( 'jquery' ), '3.0.4', false );wp_register_script( 'jqxcalendar', get_template_directory_uri() . '/js/jqxcalendar.js', array( 'jquery' ), '3.0.4', false );wp_register_script( 'jqxtooltip', get_template_directory_uri() . '/js/jqxtooltip.js', array( 'jquery' ), '3.0.4', false );wp_register_script( 'jqxbuttons', get_template_directory_uri() . '/js/jqxbuttons.js', array( 'jquery' ), '3.0.4', false );wp_register_script( 'globalize', get_template_directory_uri() . '/js/globalize.js', array( 'jquery' ), '3.0.4', false );// register custom scriptwp_register_script( 'initializewidgets', get_template_directory_uri() . '/js/initializewidgets.js', array( 'jquery' ), '1.0.0', false );// register jQWidgets CSS fileswp_register_style( 'jqx.base', get_template_directory_uri() . '/css/jqx.base.css', array(), '3.0.4', 'all' );wp_register_style( 'jqx.orange', get_template_directory_uri() . '/css/jqx.orange.css', array(), '3.0.4', 'all' );if (is_page(86)==true){// enqueue jQWidgets JavaScript fileswp_enqueue_script( 'jqxcore' );wp_enqueue_script( 'jqxdatetimeinput' );wp_enqueue_script( 'jqxcalendar' );wp_enqueue_script( 'jqxtooltip' );wp_enqueue_script( 'jqxbuttons' );wp_enqueue_script( 'globalize' );// enqueue custom scriptwp_enqueue_script( 'initializewidgets' );// enqueue jQWidgets CSS fileswp_enqueue_style( 'jqx.base' );wp_enqueue_style( 'jqx.orange' );};}add_action( 'wp', 'add_jqwidgets' );
Then click Update File.
The add_jqwidgets function registers the script and CSS files and makes
them available on all pages of our WordPress website. Let's take a detailed look
at the methods used in it.
The function wp_register_script registers a script. It has several
parameters:
wp_register_script( $handle, $src, $deps, $ver, $in_footer );
$handle- the name of the script;$src- URL to the script;$deps- array of the handles of all the registered scripts that this script depends on (such as jQuery);$ver- the version number of your script;$in_footer- designates whether the script will load in the footer (true) or in the header (false).
Similarly, wp_register_style registers a style.
wp_register_style( $handle, $src, $deps, $ver, $media );
$handle- the name of the stylesheet;$src- URL to the stylesheet;$deps- array of the handles of all the registered stylesheets that this stylesheet depends on;$ver- the version number of your stylesheet;$in_footer- string specifying the media for which this stylesheet has been defined. Examples: 'all', 'screen', 'handheld', 'print', etc.
The functions wp_enqueue_script / wp_enqueue_style add
a link to the script / style to your page.
The function is_page returns true if a particular page is
loaded. In our case, we add the scripts and styles only to the page with id 86.
We will add this page in Step 3 of this tutorial.
For enqueuing both scripts and styles, call add_action:
add_action( 'wp', 'add_jqwidgets' );
The first parameter designates the name of the hooked action and the second - the function you wish to be hooked.
3. Add a Page with jQWidgets
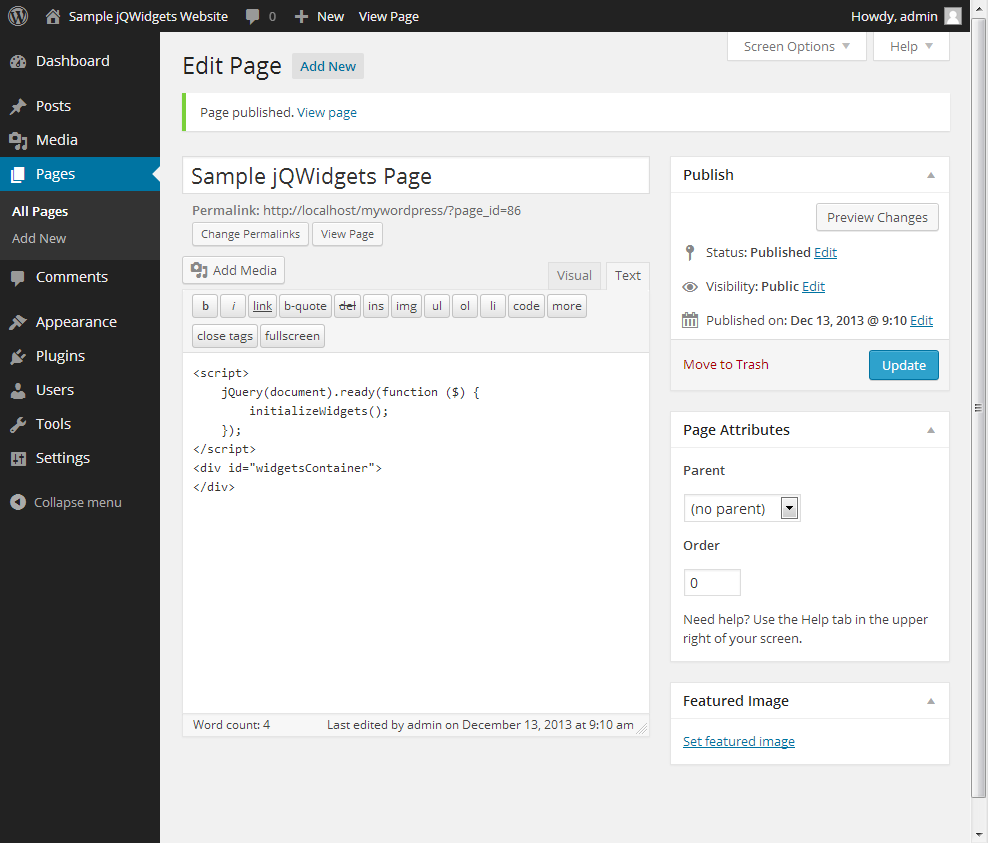
Now that our WordPress website supports jQWidgets, it is time to add a page that features some widgets. From the menu on the left select Pages and then click Add New. Put the following code in the newly created page (remember to switch to Text view first):
<script>jQuery(document).ready(function ($) {initializeWidgets();});</script><div id="widgetsContainer"></div>
For there to be no conflicts with other JavaScript libraries, you should call:
jQuery(document).ready(function ($) {
and not:
$(document).ready(function () {
The function initializeWidgets(), which is defined in our custom JavaScript
file, initializewidgets.js, (see Step 1) appends the
needed HTML structure to the div with id widgetsContainer, initializes
the calendar and button and adds their functionality. This is the safest way to
initialize the widgets, due to the specificities of WordPress.
Then publish the page. As you can see in the page's Permalink, its id is 86 and the jQWidgets scripts and styles will be available only here. Go to your website and view the new WordPress page, featuring jQWidgets: